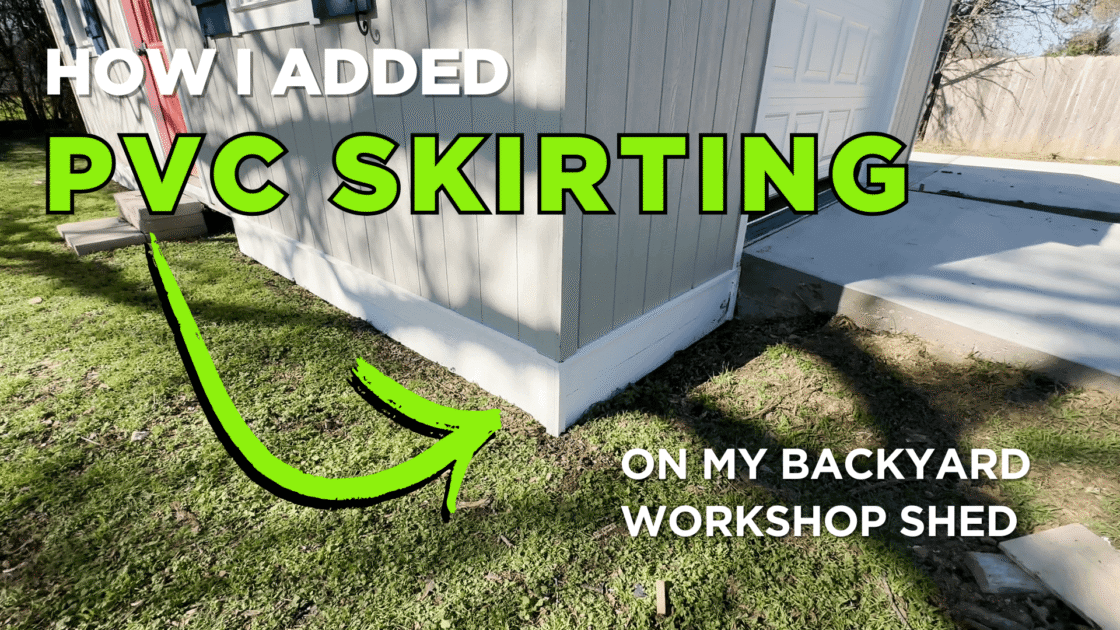
DIY PVC Skirting Installation: Complete Workshop Transformation Guide
PVC skirting installation is a game-changing DIY project that can completely transform the look of your workshop. Not only does it improve the aesthetic appeal of your building, but it also provides long-lasting protection from pests, moisture, and wear. In this step-by-step guide, I will walk you through the entire process of installing PVC skirting, sharing my personal experience, tips, and tricks to ensure your workshop receives a durable, low-maintenance upgrade.

Why Choose PVC Skirting for Your Workshop?
Before jumping into the installation, let’s first explore why PVC skirting is the best choice for your workshop.
- Durability: PVC is resistant to water, rot, and pests, making it the perfect material for outdoor applications. Unlike wood, PVC won’t warp or decay, even in wet or humid conditions.
- Low Maintenance: PVC skirting is easy to clean and requires minimal upkeep compared to traditional materials. A quick rinse with water is all it takes to maintain its pristine condition.
- Aesthetic Appeal: PVC skirting provides a sleek, modern look that elevates the overall appearance of your workshop. It’s the ideal choice for anyone looking to add a touch of style and sophistication.
Preparing for PVC Skirting Installation

Before you begin installing PVC skirting around your workshop, a few essential preparations are required:
- Gather Tools and Materials: You will need PVC boards, a measuring tape, a saw (if you need to cut the boards), cinderblocks, a shovel, and a power tool like the Dremel Multi-Max for precision cuts.
- Digging Trenches: PVC skirting needs to sit in a trench, so you’ll need to dig along the perimeter of your workshop. Make sure the trench is level to ensure the skirting fits properly.
- Order Vents: Proper ventilation is critical to prevent moisture buildup under your workshop. Choose simple, screened vents to keep pests out and air circulating. You’ll need several vents depending on the size of your building.
Step-by-Step PVC Skirting Installation Process
Day 1: Digging Trenches and Overcoming Weather Challenges
The first step in the PVC skirting installation process is digging a trench around the workshop. This trench should be deep enough to hold the PVC boards securely and wide enough to allow for proper ventilation. But, of course, weather didn’t make it easy! After a heavy rain, the ground was a muddy mess, adding to the complexity of the task.
Working alone made maneuvering the long PVC boards challenging. I used a cinderblock to prop the board up in the middle, which allowed me to align the ends more easily.
Once the trench was ready and the PVC skirting was positioned, I secured it in place. Thanks to the durability of PVC, I didn’t have to worry about the boards getting damaged by the mud.
Day 2: Installing Skirting Around the Concrete Ramp
The next day, I focused on the concrete ramp area, which presented its own set of challenges. The rough and jagged edges of the concrete needed to be smoothed out to ensure the PVC skirting would fit properly. I used my trusty Dremel Multi-Max to trim the plywood backing and even out the concrete.
To prevent any gaps, I also used the Multi-Max to chip away at the concrete. Any gaps larger than 1/4 inch can be an entry point for pests, so it’s crucial to seal them before completing the installation.
Step 3: Nighttime Installation with Portable Lighting
Since winter days are short, I ended up working late into the evening to complete the PVC skirting installation. I used my Jackery power station and a ring light to illuminate the workspace. This made it easy to continue working despite the fading daylight.
The final stretch was the most difficult, requiring several attempts to dig and adjust the trench. But I didn’t give up! By 9:00 PM, I had finished the installation on that side of the workshop.
Adding the Finishing Touches: Trim Pieces and Caulking
Once the skirting was securely installed, I added vertical trim pieces to cover the cut edges of the PVC boards. These simple but effective trim pieces gave the skirting a cleaner, more polished look.
Caulking: To seal any remaining gaps around the edges of the skirting, I’ll apply caulk. This ensures that the installation is completely weatherproof and pest-resistant.
The Transformation: Before and After
With the PVC skirting installed, the workshop looks completely transformed! The skirting provides a modern, clean look that complements the building’s exterior, while also offering practical benefits like protection from moisture and pests.
Here’s a quick comparison of the before and after:
- Before: A plain, utilitarian workshop.
- After: A charming, upgraded building with stylish, durable PVC skirting that will last for years.
Lessons Learned from the PVC Skirting Installation
- Weather Can Be Your Enemy: Make sure to check the forecast before beginning any outdoor project. Wet conditions can make digging and installation much harder, but PVC is durable enough to handle the challenges.
- Having the Right Tools Makes All the Difference: Tools like the Dremel Multi-Max and Jackery power station are essential for making the job easier and more efficient.
- Ventilation Is Key: Don’t forget to install vents to ensure airflow beneath your workshop. This will help prevent moisture buildup and extend the life of the skirting.
What’s Next for the Workshop?
The PVC skirting installation is just the beginning of my workshop transformation! My next goals include:
- Painting the skirting and adding matching steps.
- Landscaping the area around the workshop for added curb appeal.
- Adding decorative touches to give the workshop a more personalized, cottage-like feel.
Stay tuned for future updates as I continue to improve this space!
About Addicted 2 Decorating
passionate about transforming my 1948 fixer-upper into a dream home. Most of the work is done by me alone, as my husband Matt has MS and can’t help physically. Join me on my DIY journey as I tackle new projects, share tutorials, and inspire others to take on their own home improvement endeavors.
Conclusion
The DIY PVC skirting installation is a rewarding project that can add both style and functionality to your workshop. With careful planning and the right tools, you can tackle this project yourself and enjoy the benefits for years to come. Whether you’re looking to upgrade your workshop or any other outdoor building, PVC skirting is an excellent choice for durability and aesthetic appeal.